The square is probably not completely unique and there my very well be another pattern just like it out there, but this is how I did it.
I worked up these squares using a DK cotton yarn on a 4mm hook and the finished square measures about 7cm on each side. The pattern is written in UK terms using the following stiches:
Chain - ch
Slip Stich - sl st
Treble - tr
Half Treble - htr
Treble 2 together - tr2tog (instructions to follow)
To begin: ch 4, sl st to join into a ring. You will be working into the centre of this ring.
Round 1: To create your first stitch, ch 3, then work 1 tr into the centre of the ring. This will be your first little cluster. Ch1, then work a tr2tog into the ring, here's how: yarn over, insert hook through centre of ring, yarn over, pull up a loop (3 loops on hook), yarn over and pull through 2 loops (2 loops left on hook). Then yarn over and insert hook through centre of ring again, yarn over, pull up a loop (4 loops on hook), yarn over and pull through 2 loops (3 loops left on hook), yarn over and pull through all 3 loops.

3 Loops left on hook

Yarn pulled through all 3 loops to finish stitch
Once you have made your second cluster, ch1 and then make 6 more of these tr2tog clusters, separating each with a ch1. To finish this round, sl st to the 3rd chain of the ch3. You need to end up with 8 little clusters, with a ch1 between each. Cut off your yarn, leaving a tail to sew in later and pull through the loop to tie off.

Completed first round with 8 clusters
Round 2: You will now be working into the ch1 spaces of the previous round. To begin you need to join in a new colour yarn. You can do this any way that works for you, but I find the most secure way is to make a slip knot in your new yarn, as you would to start a foundation chain. Then insert your hook through the ch1 space of Round 1 and then insert hook through slip knot of new yarn - like this

Hook inserted through ch1 space and slip knot in new yarn
Now pull up your first ch1 with your new yarn to secure it to your work - like this

New yarn secured to work with ch1
OK, to carry on with this round, ch 2 (to make your ch3) and then work 1 tr, ch1, tr2tog, ch1 all in the same ch1 space where you joined your new yarn. This will create your first petal.

First petal stitch
Into your next ch1 space work, tr2tog, ch1, tr2tog, ch1 to make your second petal.

Second petal stitch
Work six more of these "petals" (tr2tog, ch1, tr2tog, ch1) into each of the next ch1 spaces, you should therefore end up with eight petals and sixteen ch1 spaces in total. To finish the round, sl st to the 3rd chain of the ch3, cut off yarn and tie off.

Completed Round 2
Round 3: You will again be working out of the ch1 spaces from the previous round. You need to join in a new colour, making sure to join in a ch1 space that is between two of the "petals" - like this

Joining new yarn between two "petals"
To begin, ch3, 2 tr, ch2, 3 tr into the same ch1 space where you joined your new yarn, this will create your first corner.

First corner worked
In the next ch1 space (in the centre of your "petal"), work 3 htr, then in the next ch1 space (between the "petals"), work another 3 htr, and again in the next ch1 space (in the centre of the "petal") work another 3 htr, this will create your first side. NOTE: there are no ch1 spaces between the 3 htr clusters

3 htr clusters worked in ch1 spaces
In the next ch1 space (between "petals"), work 3 tr, ch2, 3 tr to make your second corner.

Second corner worked
Then repeat the 3 htr into each of the next three ch1 spaces just like before, then another corner (3 tr, ch2, 3 tr) into the next ch1 space after that. Repeat this once more (3 htr into next three ch1 spaces, 3 tr, ch2, 3 tr into last ch1 space) and this should create your little square. Sl st into 3rd chain of ch3 to complete the round, cutting off yarn and tie it off.

Completed square
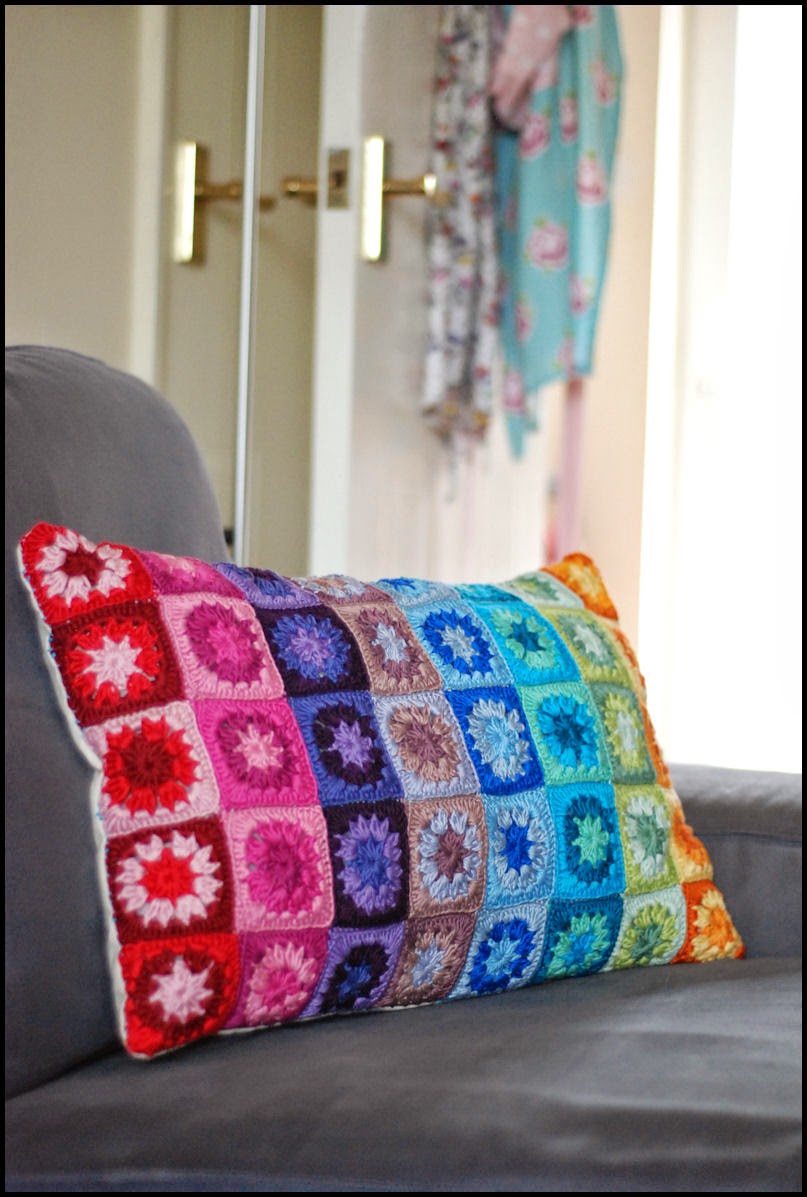
Now all you have left to do is sew in your ends and make many, many more squares to make your cushion cover, or whatever else you want to. If you find that your square curls up too much, you can either try to steam block it out, or try to crochet a bit looser, by pulling up longer loops in your stitches.
I hope that all of this makes sense, please feel free to leave me a comment if you have any questions and I will try my best to answer it :)